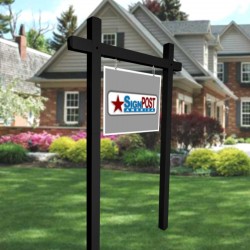
Real Estate Sign Frames
Elevate your property marketing game with our premium selection of real estate sign frames. Designed to accentuate the appeal of properties for sale, our collection offers a variety of options for both residential and commercial listings. Crafted with a focus on quality and convenience, our portable sign frames are the perfect solution for displaying yard signs that catch the eye of potential buyers.
Modular Design:
Many of our sign frames feature a modular design that allows for easy assembly. These frames can be conveniently bolted together, enabling quick setup and adjustment to fit various sign sizes. Our modular frames are not only versatile but also easily disassembled for storage and transportation.
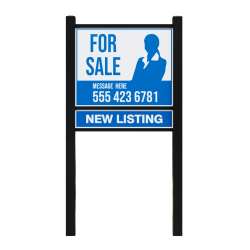
Portable Billboard Sign Frames:
Looking to make a significant impact with your property signage? Our portable billboard sign frames are the ultimate solution. These frames are designed to accommodate larger signs, ensuring maximum visibility along busy roads and streets.
Compact Shipping:
Our commitment to convenience extends to shipping as well. Many of our modular sign frames are packaged in small and manageable boxes, saving you money on shipping costs and making setup a breeze upon arrival. Whether you're a real estate agent, property developer, or homeowner, our real estate sign frames provide the perfect platform to showcase your listings with sophistication and practicality. Invest in quality, versatility, and style to captivate the attention of passersby and turn them into potential buyers. Explore our collection today and elevate your property marketing efforts to new heights.
FREE SHIPPING on all orders over $49